Great features take time to build. We release a new version of the WordPress for iOS app every two weeks. But sometimes a feature takes more than two weeks to develop. In those cases, we use feature flagging to gate in-progress features so we can continue to build and test them without exposing them to regular users before they’re ready.
With a feature flag in place, you can present different user interface elements or different menu options to a user based on which build of the app they’re running — whether that’s a local debug version, an internal testing version, or an App Store version. And it’s not just limited to UI. You can also swap out entire sections of backend logic using a feature flag.
In this post, we’ll look at how we implement feature flags in WordPress for iOS.

Implementation
Build Configurations
First, we decide which factor we’ll use to determine whether a given feature flag is enabled or disabled. In our case, it’s based on the current build configuration. We have four configurations in our Xcode project: debug, release, internal test builds, and alpha test builds.
So we can toggle our feature flags, we need to be able to determine the current build configuration in code. We start by adding a BuildConfiguration enum, with an option for each type of build:
enum BuildConfiguration {
    /// Development debug build, usually run from Xcode (debug)
    case localDeveloper

    /// Continuous integration builds,
    /// sometimes used to test branches & pull requests (alpha)
    case branchTest

    /// Internally released betas (internal)
    case prereleaseTesting

    /// Production build released in the App Store (release)
    case appStore
}
Next, within the BuildConfiguration enum we add a single computed property, current, which returns the current build configuration:
static var current: BuildConfiguration {
    #if DEBUG
        return .localDeveloper
    #elseif ALPHA_BUILD
        return .branchTest
    #elseif INTERNAL_BUILD
        return .prereleaseTesting
    #else
        return .appStore
    #endif
}
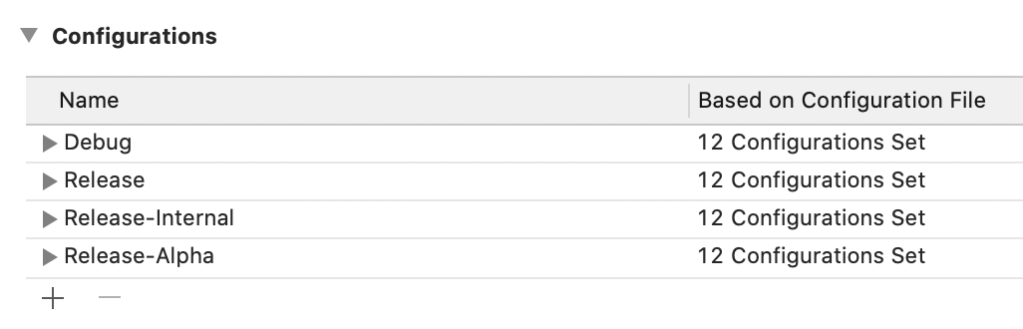
DEBUG, ALPHA_BUILD, and INTERNAL_BUILD are Swift flags, defined in our target’s build settings:

These allow us to differentiate between the different build configurations at runtime, by inspecting which of the Swift flags are defined. In the next step, we’ll be able to enable feature flags based on the current build configuration.
Defining Feature Flags
Our feature flags themselves are defined in another enum, imaginatively named FeatureFlag:
/// FeatureFlag exposes a series of features to be
/// conditionally enabled on different builds.
@objc
enum FeatureFlag: Int {
    case exampleFeature
    case revisions
    case enhancedSiteCreation
	case quickStart

    /// Returns a boolean indicating if the feature is enabled
    var enabled: Bool {
        switch self {
        case .exampleFeature:
            return true
        case .revisions:
            return BuildConfiguration.current == .localDeveloper
        case .enhancedSiteCreation:
            return BuildConfiguration.current ~= [.localDeveloper, .prereleaseTesting]
		case .quickStart:
			return BuildConfiguration.current != .appStore
        }
    }
}
The enabled computed property contains the logic that determines whether a given feature flag should be enabled. We do this by comparing the current build configuration to the configuration(s) for which we’d like to enable the feature flag. In the example above, we have four feature flags:
exampleFeaturereturnstrue: it is always enabled.revisionsis only enabled for thelocalDeveloperbuild configuration.enhancedSiteCreationis enabled for bothlocalDeveloperandprereleaseTestingbuilds.quickStartis enabled for all builds except forappStore.
You may notice that the enhancedSiteCreation case above uses a custom operator, ~=. This is defined as a static function within BuildConfiguration, which allows us to compare the current build configuration against an array of configurations:
    static func ~=(a: BuildConfiguration, b: Set<BuildConfiguration>) -> Bool {
        return b.contains(a)
    }
This is useful if we want a feature to be available in multiple configurations.
The final step is to use our feature flags to enable or disable features or UI elements.
Using Feature Flags
Now that they’ve been defined, to use a feature flag we need to check that it’s currently enabled. For example, here we’ll expose an alert controller action for our Revisions feature only if the revisions feature flag is enabled:
if FeatureFlag.revisions.enabled {
    alertController.addAction(revisionsAction)
}
Based on the FeatureFlag implementation above, the revisions action will only be added to our alert controller for local debug builds of the app.
In WordPress for iOS, we’ll often add a new feature flag to the app when we first start developing a feature. We can build the feature behind the flag, and then change the flag’s enabled logic to release it to testers or the App Store when we feel it’s ready.
For some bigger features, we may first expose it to our internal test builds for a round of testing, and then only open it up to the App Store configuration when we’re happy we’ve addressed any issues. Even after a feature has been released, it can also be useful to leave the flag in place for a release or two, in case you ever need to roll it back.
The WordPress for iOS app is fully open source, so if you’re interested you can check out our complete implementation of BuildConfiguration.swift and FeatureFlag.swift on Github.
